Welcome to our Creativity Abounds Design Team December Blog Hop! We’re a group of Stampin’ Up Demonstrators from across the world that create two projects a month with the goal of inspiring you to make cards.
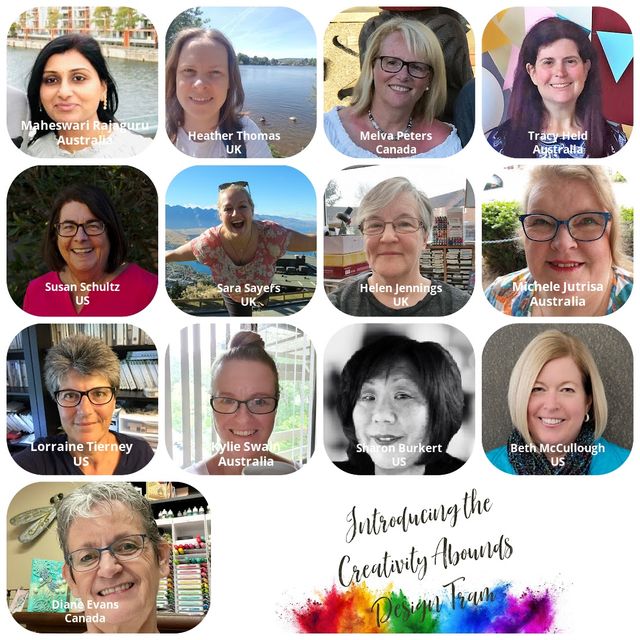
Here is our incredible team…
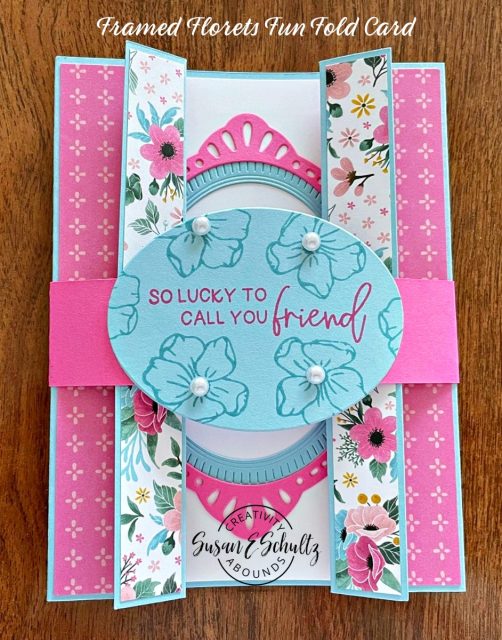
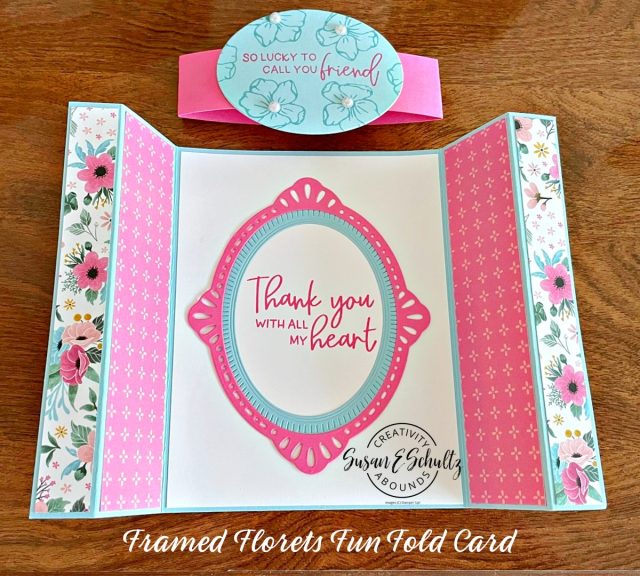
This month we are creating Fun Fold Cards. I really like Fun Fold Cards and I’m always looking out for new designs. I decided to use the new Framed Florets Stamp set and the Fabulous Frames Dies. This paper is so beautiful you want it to be the main attraction.


Here is my card! I love using the Balmy Blue and Polished Pink colors together! I had a lot of fun making this card, so I hope you give it a try.
To Make This Card:
- Use a 5 1/2″ x 8 1/2″ (14.9 cm x 21 cm) piece of Balmy Blue cardstock and score at 3/4″ (2.0 cm) and 2 1/8″ (6.5 cm) on each end. Use a bone folder to make a crisp fold on all the score lines.
- Cut four 1 1/4″ x 5 3/8″ (3.3 cm x 14.7 cm) strips of Fitting Florets Designer Series paper and attach them to the two outside and inside medium sized panels using your favorite adhesive.
- Cut two 5/8″ x 5 3/8″ (1.5 cm x 14.7 cm) strips of a second Fitting Florets Designer Series paper and attach them to the smallest panel on each side of the card using your favorite adhesive.
- Attach a 4.0″ x 5 1/4″ (10 cm x 14.4 cm) piece of Basic White cardstock to the inside of the card using your favorite adhesive.
- Stamp the “Thank you with all my heart” sentiments from the Framed Florets Stamp Set in the center of the Basic White cardstock using Polished Pink ink.
- Use the large oval die and the Stampin’ Cut & Emboss Machine to cut out a Polished Pink Oval Frame. Save that center piece to use on another card.
- Use the ribbed oval die and the Stampin’ Cut & Emboss Machine to cut out a Balmy Blue ribbed oval. Use the center piece for the sentiment for this card.
- Attach the Balmy Blue oval to the Polished Pink Oval Frame using your favorite adhesive.
- Attach both oval die cuts to the center of the Basic White cardstock so the sentiment is in the center of the oval frame.
- Make the Belly Band by cutting a 1.0″ x 11″ (2.5 cm x 29.7 cm) strip of Polish Pink Cardstock. Fold the Polished Pink cardstock around the card so the ends are in the front of the card. Glue the two ends together but do not attach to the card front as you want to be able to slide the belly band up and down.
- Stamp the “So Lucky To Call You Friend” sentiment to the center of the Balmy Blue oval using Polished Pink ink.
- Use the single flower stamp and randomly stamp flowers around the edges of the sentiment using Balmy Blue ink.
- Add four Balmy Blue pearls from the Pastel Pearls package.
- Attach the stamped sentiment to the front of the belly band to cover where you attached the two ends.
Order Products to Make This Card Use Host Code CYUCWVCU.
Thank you for visiting my blog, Sea Ranch Creations today. Please visit the links of my team members listed below. I know they will provide you with lots of inspiration for making Fun Fold Cards.
Happy Stamping!
Susan
If you liked the Fun Fold Designs in today’s blog, you’ll definitely want to get the Creativity Abounds Design Team Fun Fold Tutorial Bundle. This bundle contains 13 different Fun Fold Cards with measurements in inches and centimeters and detailed step-by-step instructions for you to easily replicate the cards.
You can get the Creativity Abounds Design Team Fun Fold Tutorial Bundle one of four ways:
- Place a $50 or more ORDER with me using my Host Code CYUCWVCU.
- Purchase the Birthday Tutorial from my Tutorial Store for $15.
- Join my Sea Ranch Creations Tutorial Membership and you’ll be able to select one Tutorial Bundle every month for just $12.
- Become a Stampin’ Up Demonstrator and a member of the Sea Ranch Creations Papercrafters Team and you’ll receive a FREE Tutorial Bundle each month.
Here is the Sneak Peek of the Fun Fold Tutorial Bundle

I love this fold, Sharon; DSP looks fantastic. Thank you for sharing 🙂
Love this fold, Susan, DSP looks fantastic. Thank you for sharing 🙂
Thank you Maheswari! I really love this DSP!
Pretty card Susan!
Thank you Melva!
Your card is stunning! Lovely fold.
Thank you so much Lorraine
Pretty card and I love the fun fold!
Hi Sharon, thank you!
What a beautiful card Susan
Thank you so much Diane!